
Before performing Gua Sha Massage
Our Gua Sha Guide can be applied to all of our Gua Sha Tools and Rollers. Before you begin, we will take you through some simple steps to ensure you can get the most out of your Gua Sha tool and Facial Roller.
- For optimal results, we suggest using your gua sha tool 3-5 times a week.
- Always start your massage by applying a facial oil to clean, dry skin.
- Drink water before and after performing your massage.
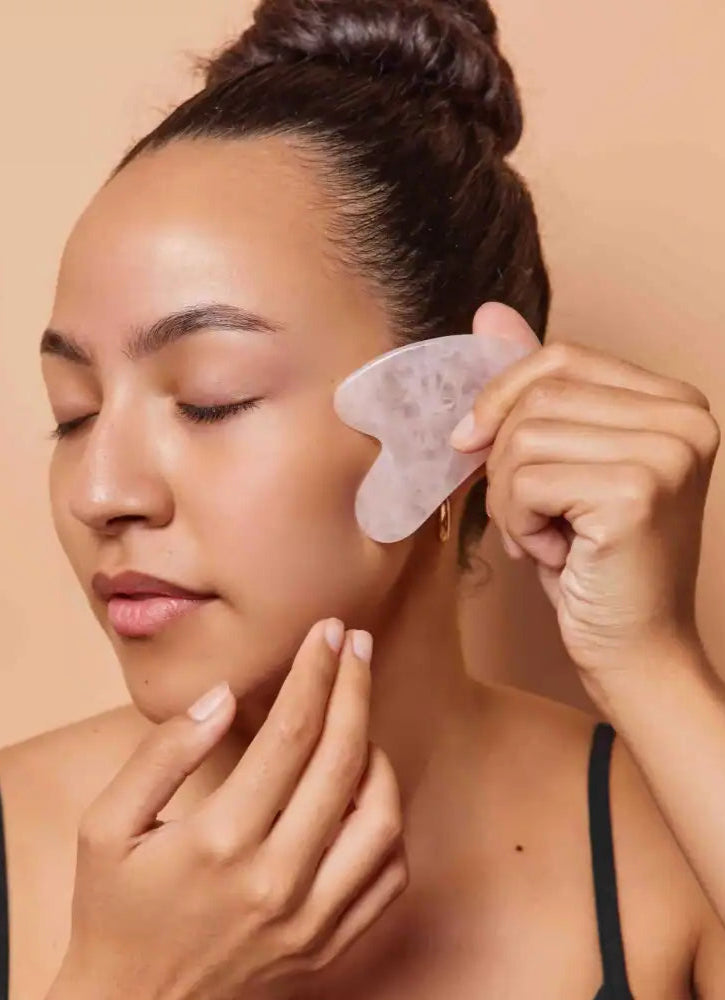
- Hold the tool at a 15–45° angle and gently glide it upward and outward, following the lymphatic pathways.
- Repeat each gua sha movement 5–10 times per area for optimal results.
- Facial gua sha massage should never cause pain or discomfort. We recommend using light to medium pressure so the tool can glide effortlessly over your skin.
- Never perform Gua Sha massage on open wounds, active acne, or any other inflammatory skin conditions.
The Gua Sha guide provided here is intended for informational purposes only and should not be considered medical advice. If you have any underlying health issues or concerns, please consult with your doctor or healthcare professional before incorporating Gua Sha or any new practices into your routine.
Facial Gua Sha Guide
Step-by-step Facial Gua Sha techniques
Facial Gua Sha massage requires a much gentler approach in comparison to body Gua. The strokes are light and controlled, focusing on promoting lymphatic drainage, reducing puffiness, and enhancing circulation to improve skin tone and elasticity. It is important not to drag, dig or pull at facial skin, particularly around the delicate eye area.
Gua Sha Pro additional features
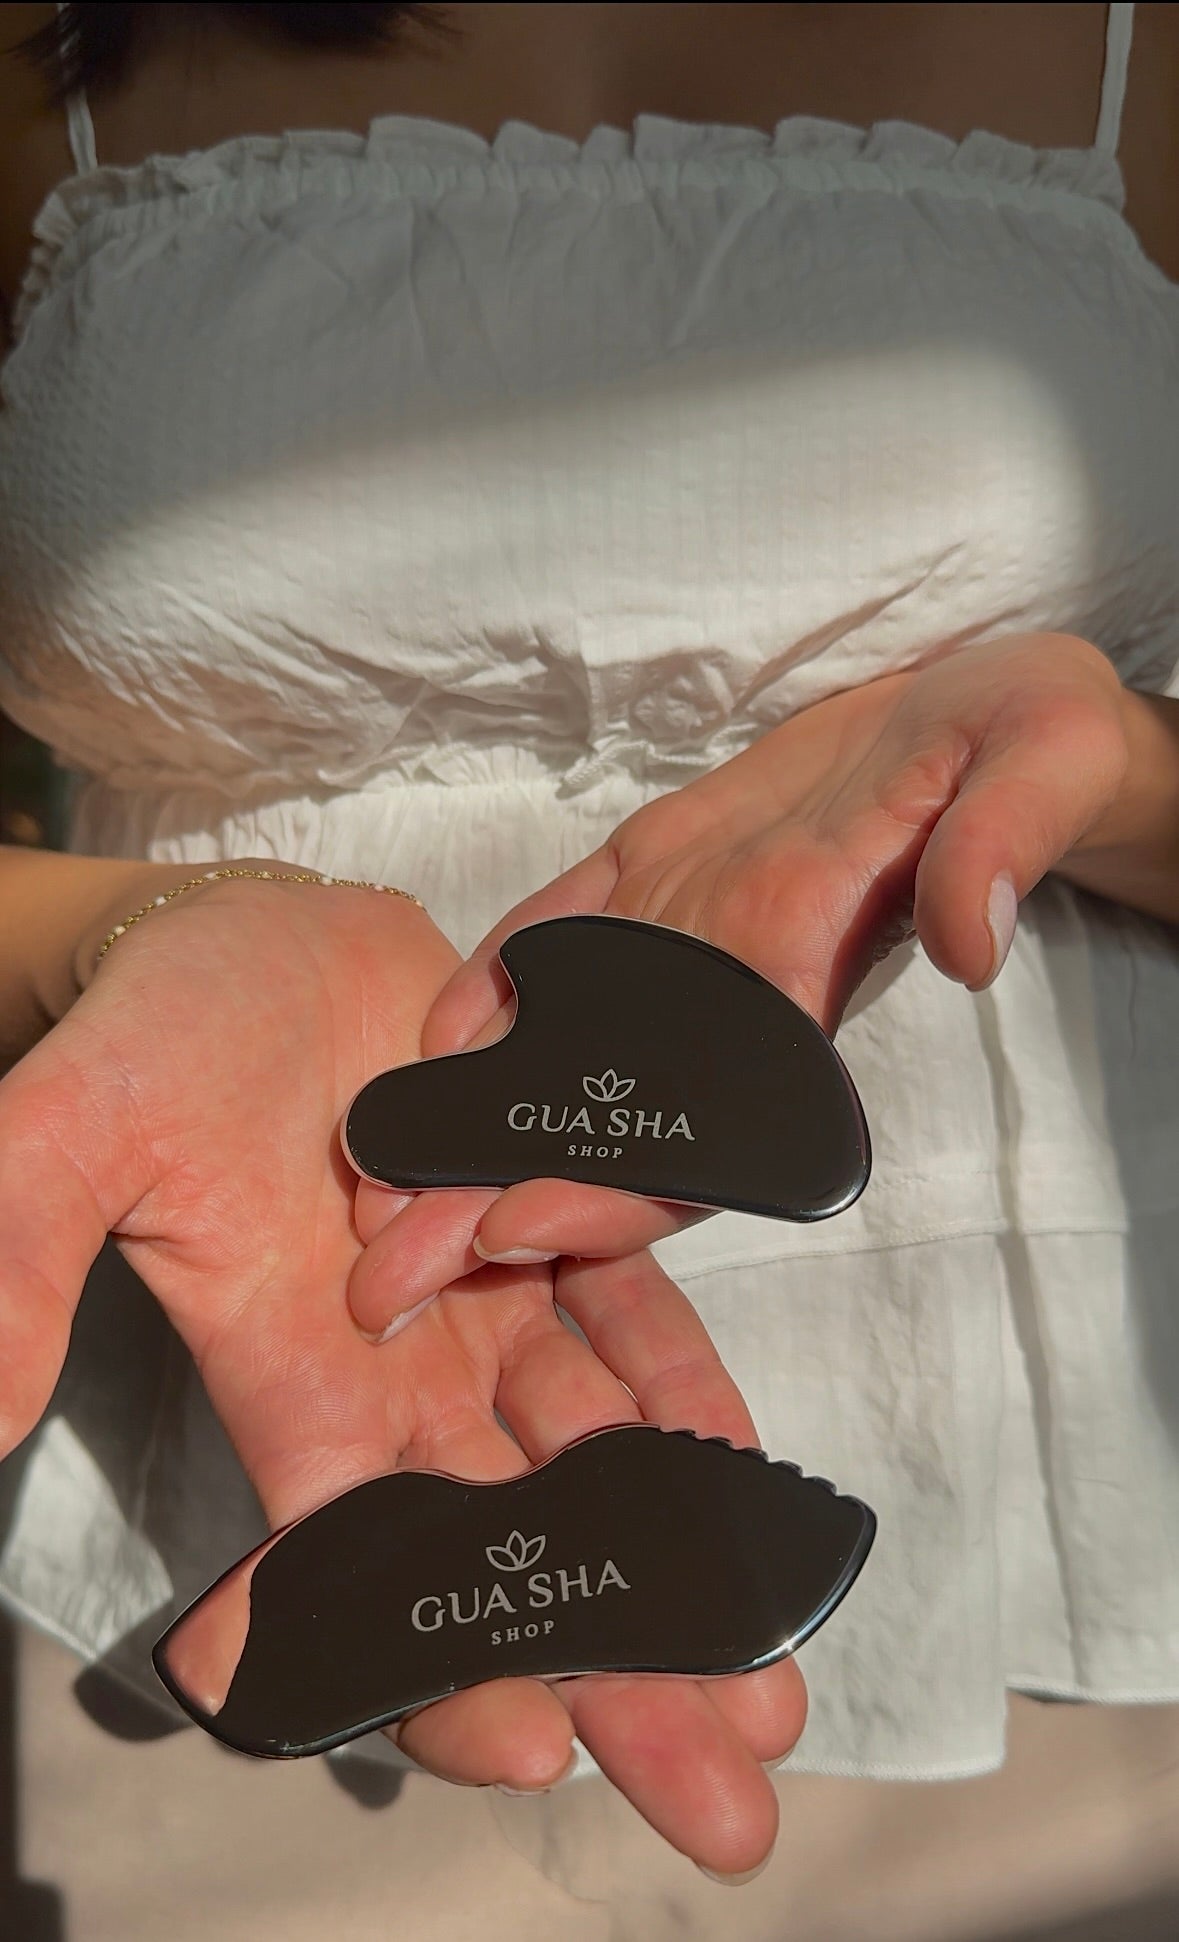
If you are using our Gua Sha Pro or Gua Sha Pro Max you will notice pointed ends at either side of the tool. These ends can be used to release areas of tension on the face such as the strong, overworked masseter muscles of the jaw. We always recommend doing this by using the point to make small circular motions for no more than 30 seconds on each area.
The combed edge is designed to help move toxins and excess fluids out of the body by placing gentle pressure on the lymphatic pathways. This versatile edge can also be used to comb over forehead lines, lines around the mouth and eyes and can be used during any stage of your massage.Although it is safe to use on any area of the face and body, we recommend steering clear of the delicate ender eye area.
Let's Begin!
Back of neck: Start by finding the “U” shaped curve to fit the base of your neck. Firmly glide the tool upwards towards your hairline 5 to 10 times. Give the tool a little wiggle when you reach the hairline.
Front of neck and Chest: Using the largest flat edge, glide the tool under the collarbones in outward strokes towards your shoulder. Repeat this step on the other side. From there, move onto the front of the neck by gently gliding the tool in an upwards motion along the throat and finish under the chin. Be mindful not to place pressure on the thyroid.
Jawline: Starting at the centre of the chin, and using light to medium pressure, glide the tool outward towards the ear. You may want to spend a bit of time working on points of tension along the jawline, particularly on the masseter muscles. These muscles are very strong so they can handle firmer pressure. If you are using the Gua Sha Pro, try using the pointed side to make small circular motions to help melt tension caused by clenching and grinding
Cheeks: Using gentle pressure, start at the side of the nose and glide the tool outwards along the cheeks and cheekbones toward the ears. Adjust the placement of the tool and repeat the action to ensure the entire area has been covered.
Eyes: Starting in the inner corner of the eye, gently glide the tool outwards to the temple. Remember to use feather-like strokes on this delicate area.
Forehead: Using the large flat side of your tool, Gently glide the gua shal in upward and outward strokes towards your hair line.
Finish with Lymphatic Drainage Strokes: Conclude your gua sha massage by gently gliding the tool down the sides on the neck. This will help to move toxins and excess fluids out of the system. Start at the chin and gently sweep the tool along the jawline, moving up towards the ear. Then move behind the earlobe and sweep down the neck, repeating the process five to ten times.

Facial Roller Guide
As with Gua Sha, facial rolling should only be performed on clean, dry skin. Using a serum or facial oil will help the tool glide effortlessly over the skin.
Prepare: Start by apply a facial oil or cream to clean, dry skin.
Neck: Using the large end of the Facial Roller, start on the neck by gently rolling in upward strokes. Repeat each stroke between 5-10 times.
Jaw and Cheeks: Move onto the jawline and cheeks by rolling in an upward and outward motion.
Forehead: Glide the roller in upward strokes towards your hairline. Now starting in the middle of your forehead, move the roller in an outward motion towards your temple.
Eyes: Use the small stone to gently roll under and around the eye area
Finish: Gently but firmly rolling down the sides of the face and neck and along the collar bones towards the shoulder. This will help to move excess fluid and toxins through the lymphatic system.
Tip: Try storing your roller in the fridge for extra soothing benefits. It can also be used on top of a sheet mask to enhance product absorption.
Guide to Performing Body Gua Sha
Start with Gentle Strokes
Begin with soft strokes to warm up the muscles, using light pressure, use strokes that move toward the heart (this is important for supporting lymphatic drainage).
Neck and Shoulders: Gently scrape the skin starting from the top of your neck and working down toward the shoulders. Apply light to medium pressure, depending on your comfort level.
Back: For the back, focus on working from the lower back upwards toward the shoulders. Use the flat edge of the Gua Sha tool, and make broad, sweeping strokes, pressing moderately to deeply on areas of concern.
Arms and Legs: Start from your wrist or ankle and work your way up to the shoulder or thigh. Use long strokes, always moving towards the heart to promote lymphatic flow. You can alternate between lighter strokes and more intense pressure on areas of tightness.
Focus on areas of tension
When you encounter areas of tension (such as tight muscles, knots, or stiffness), apply a little more pressure and scrape in a back-and-forth motion over those spots.
If you feel significant discomfort, stop and ease off a bit. It’s normal to feel discomfort, but it should never be painful. If bruising occurs, that’s typically a sign of too much pressure.
Move Slowly and Mindfully
Take your time and focus on each area. Use long, slow strokes, and breathe deeply as you work. After you’ve covered the entire area, finish the session by repeating the gentle strokes you began with. This will help calm the nervous system and help to move toxins and excess fluids out of the body.